
Google Sign-In is one of the most popular methods for user authentication, and with the updates in Next.js 14, setting it up has become more streamlined. This guide will walk you through the process of adding Google Sign-In to your Next.js 14 application using OAuth.
Step 1: Install NextAuth and Google OAuth Provider
First, you need to install NextAuth and the necessary dependencies for Google OAuth. Run the following command:
This will install NextAuth and allow you to integrate Google Sign-In in your Next.js app.
Step 2: Create an API Route for NextAuth
Next, create an API route to configure NextAuth. In Next.js 14, the folder structure is different, so you'll need to create a new file at /app/api/auth/[...nextauth]/route.js with the following content:
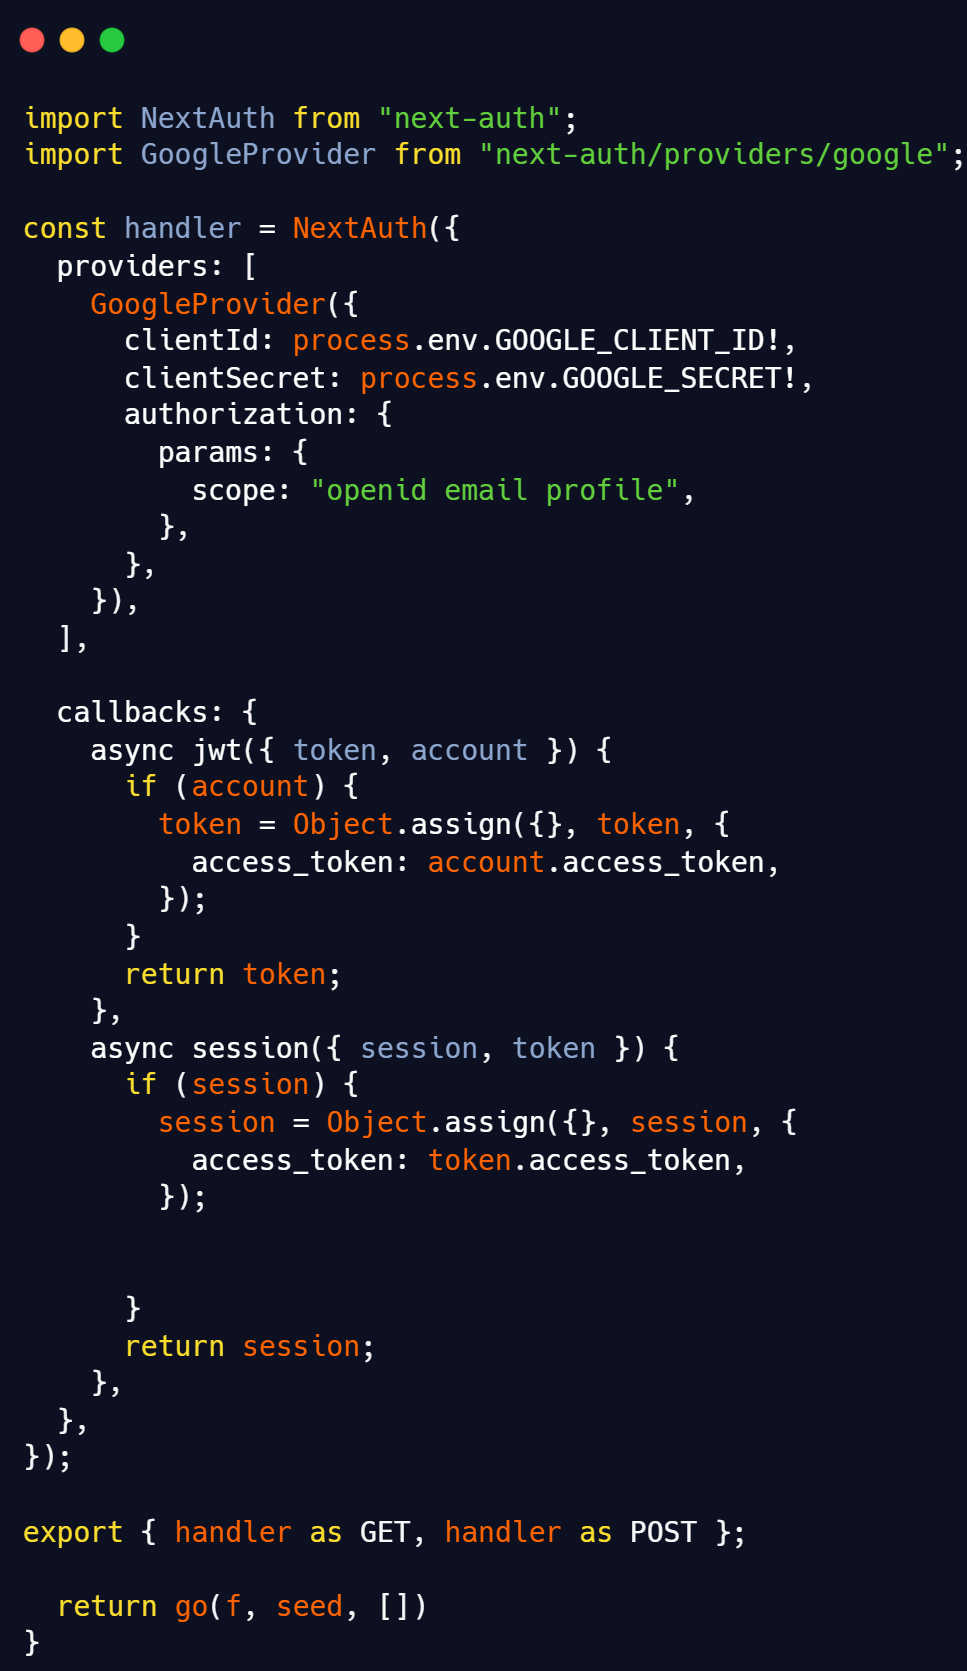
This configuration sets up Google as the OAuth provider. Ensure you have your Google OAuth credentials ready.
Step 3: Configure Environment Variables
To securely use Google OAuth, you'll need to add the following environment variables to your .env file:
GOOGLE_CLIENT_ID=your-client-id
GOOGLE_CLIENT_SECRET=your-client-secret
NEXTAUTH_SECRET=your-nextauth-secret
NEXTAUTH_URL=your-site-url-base-path
AUTH_TRUST_HOST=true
Replace your-client-id, your-client-secret, and your-nextauth-secret with your actual credentials.
Step 4: Handle Deployment Issues
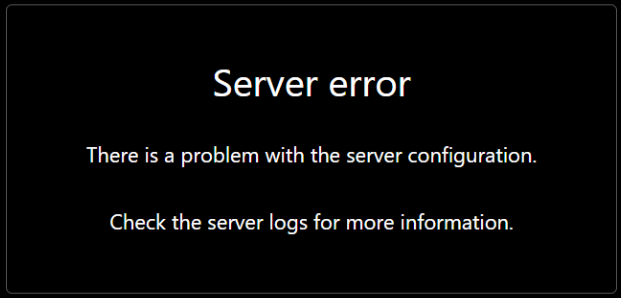
Deploying your app may result in some issues. To bypass these, you need to:
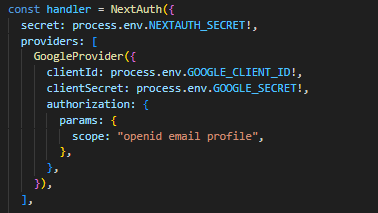
1) Ensure that NEXTAUTH_SECRET is added to your environment and included in your NextAuth handler.
2) Add NEXTAUTH_URL to your environment variables as the base path of your domain.
Here is how to add NEXTAUTH_SECRET to your provider:
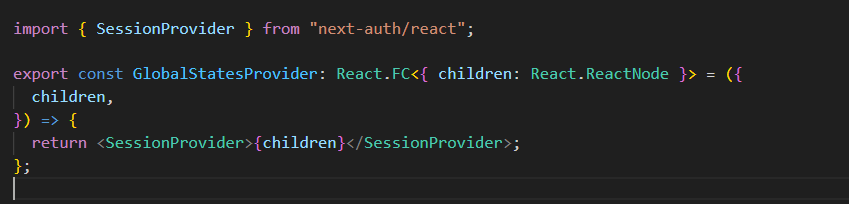
Step 5: Get Session Information
Wrap your app's children components with SessionProvider. This allows you to access session data throughout your app.
Step 6: Use the Sign-In Function
Finally, call the signIn('google') function in your login button to initiate Google Sign-In. With that, your setup is complete.
OUR SERVICES
Need Help with Integration?
Hire us to ensure your NextAuth setup is done right!